Sorry, you need to enable JavaScript to visit this website.
slice of key lime pie ©iStock

Photo: ©iStock

6 Tips for Making the Perfect Key Lime Pie

FDL
By
Fine Dining Lovers
Editorial Staff

Key lime pie is a Floridian classic, originating from Key West in the 1930s. You may have seen several variations on it, but don’t be fooled by the supposedly high-end recipes. Key lime pie is supposed to be a simple and humble dessert. In our opinion, it’s all the better for it.

So without further ado, let’s move on to our top 6 tips for making the perfect Key lime pie.

1. The Crust

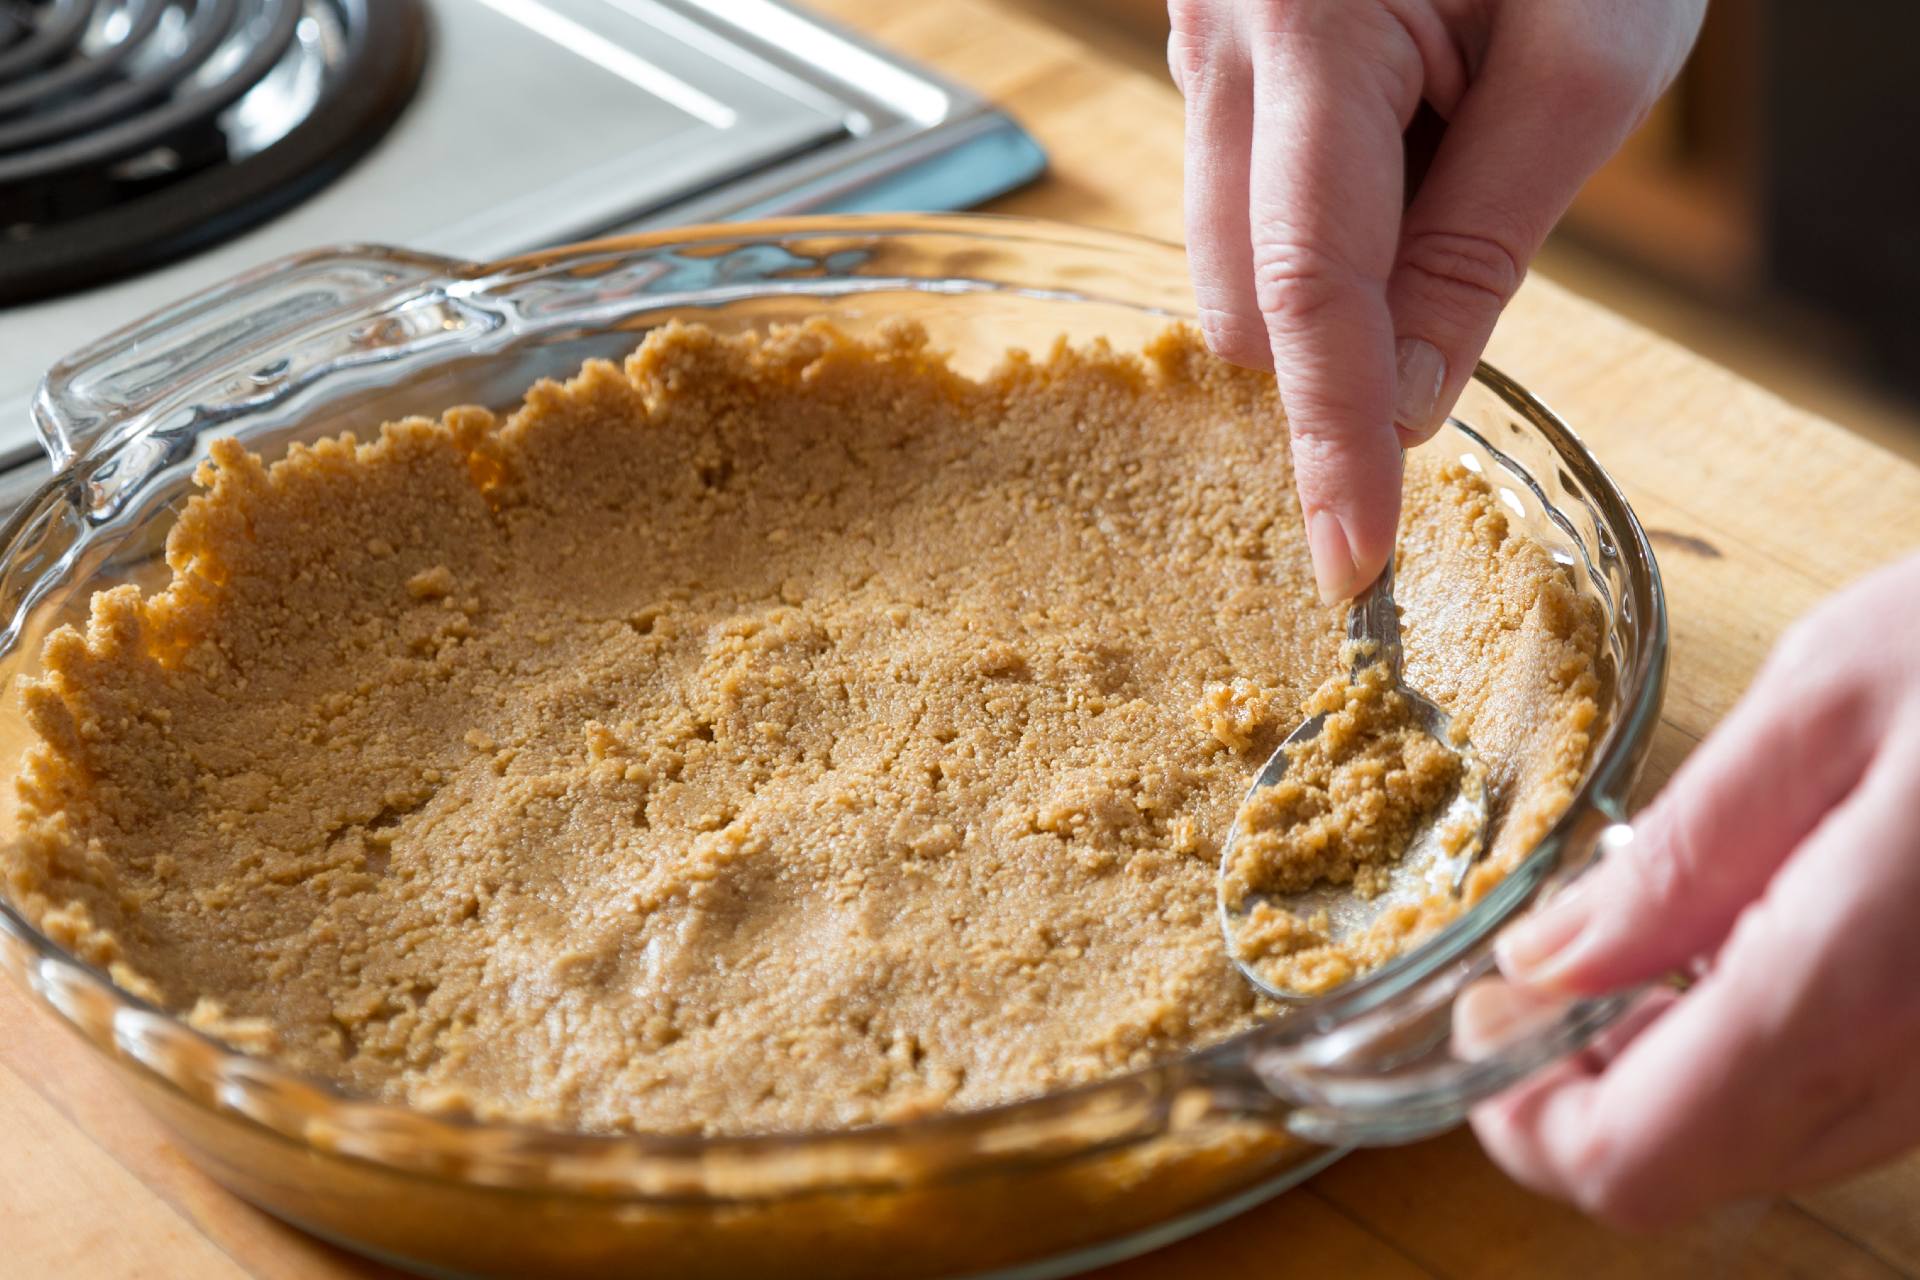
crust preparation ©iStock

Traditionally, Key lime pie crust is made from crumbed graham crackers, as well as butter and sugar. This dates back to the pie’s Great Depression-era origins. A graham cracker crust was generally cheaper than making pastry.

These days, unsurprisingly, higher-end and undoubtedly delicious alternatives abound. But while we wouldn’t kick a pastry crust out of bed for flaking, we have to say that the original is still the best. After all, a Key lime pie is supposed to be easy.

So, our advice? Stick to graham crackers. Just make sure the crumbs are consistently fine to ensure an evenly cooked base. And if the traditional crust is a little too plain for your tastes, simply perk it up with a pinch of salt and/or ground cinnamon.

Finally, remember to pre-bake the crust first and then let it cool for 10–15 minutes before pouring in the filling. That goes for whether you’re using graham crackers or ignoring our advice and trying pastry instead. Both will end up a soggy mess if you skip this step.

2. The Custard (part I)

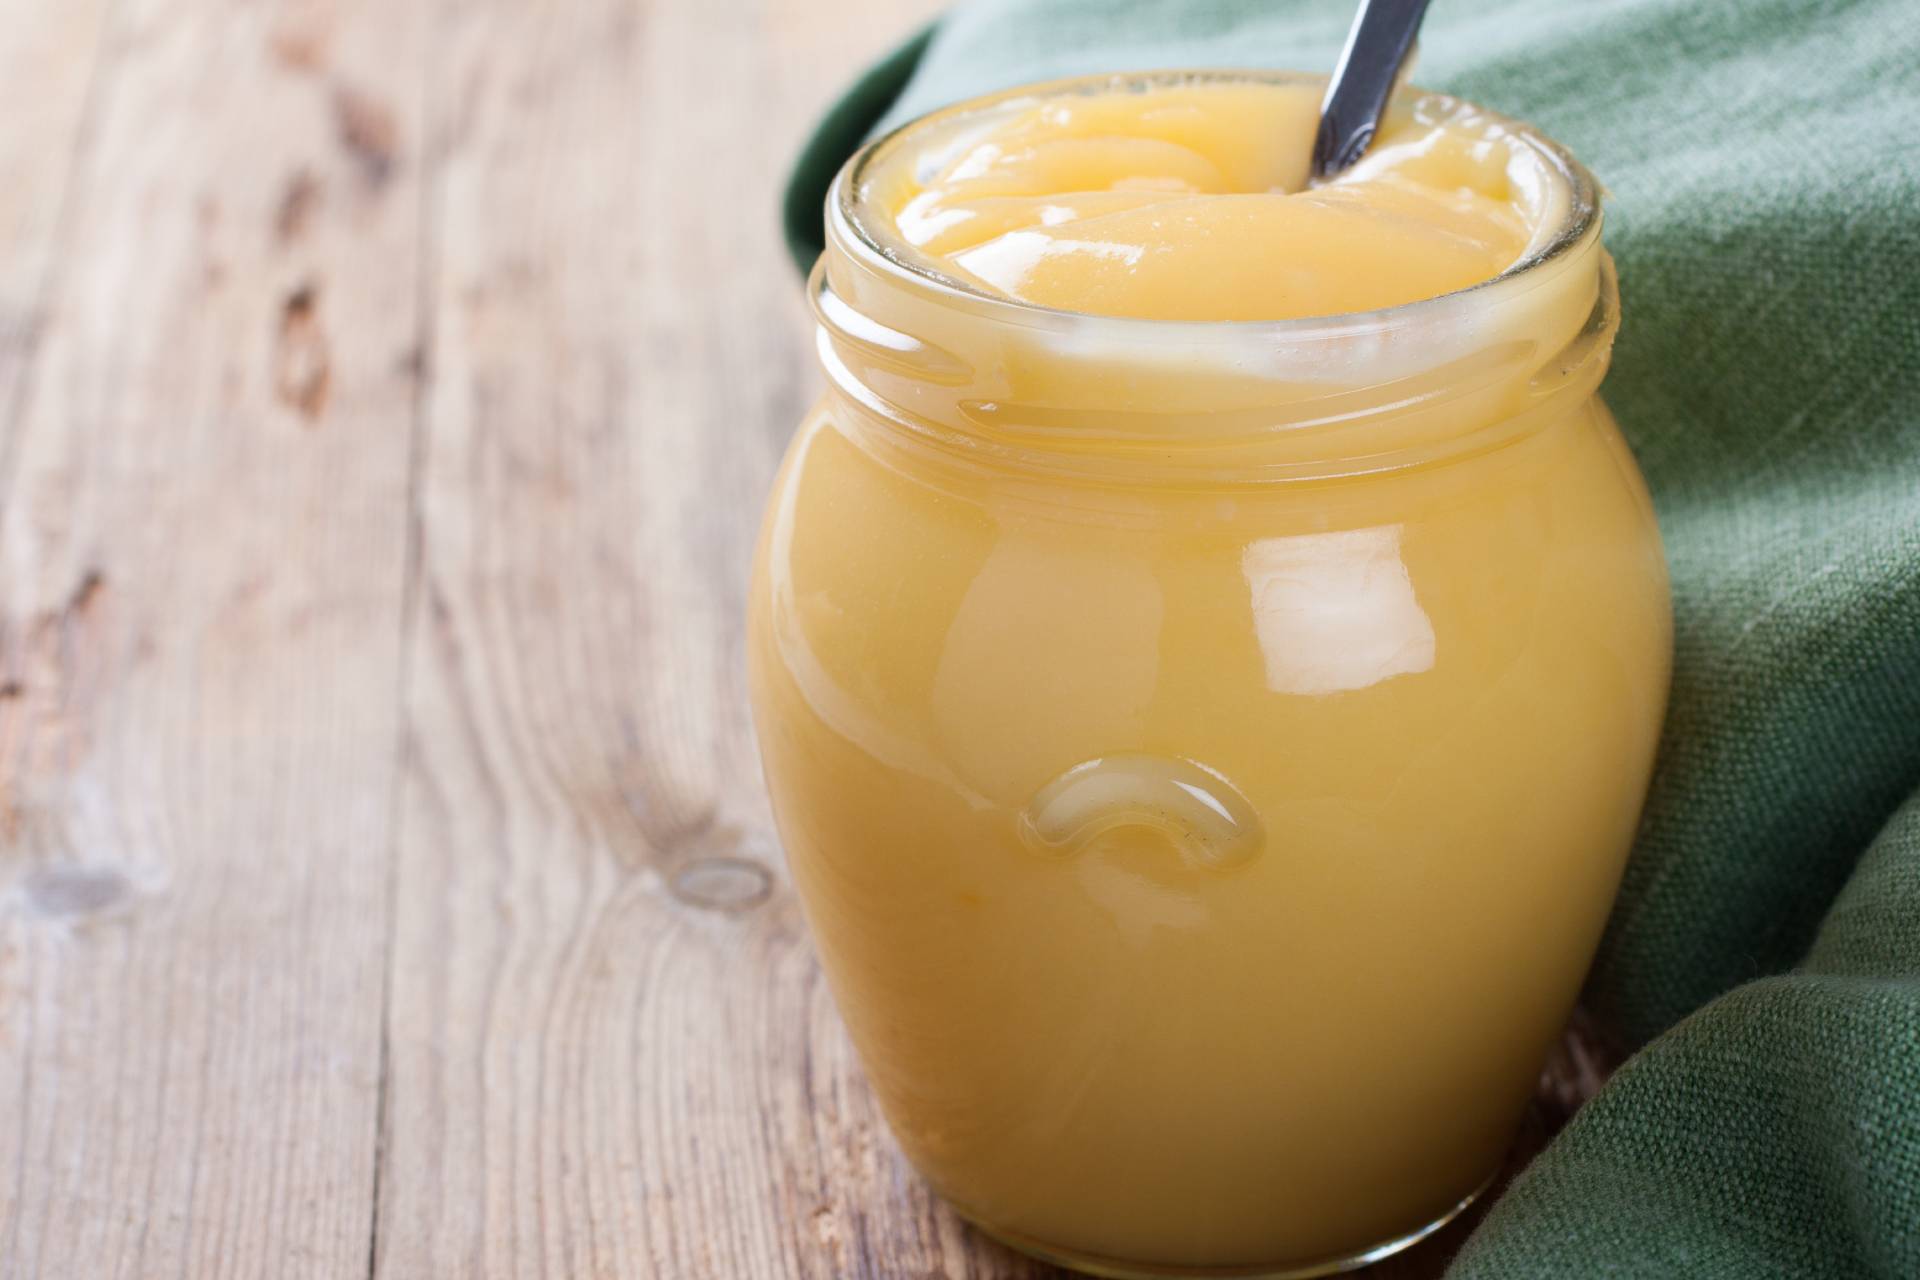
lime custard in a jar ©iStock

Key lime pie traditionally uses just three ingredients: whole eggs, lime juice, and evaporated milk. This should create a glossy and wobbly custard. As some recipes suggest, you can use just the egg whites, whip in plenty of air, and then fold them into the rest of the mixture. This will result in a light and fluffy texture, but then you’re arguably not really making Key lime pie at all.

An authentic Key lime pie should have the texture of custard, not soft meringue. Once again, it all comes down to keeping things simple. Don’t over-whip your mixture.

3. The Custard (part II)

While we’re on the subject of keeping your custard custardy, here’s another great tip: Make your mix the day before.

This isn’t totally necessary, although you may find it fits conveniently into your dessert baking schedule. But the real reason for it improving your Key lime pie is because it’ll give the mixture time to release any excess air you’ve unintentionally whipped into it. After all, you can’t avoid whipping it to an extent, unless you’re simply aiming to poach eggs in condensed milk. Which you’re not.

If you don’t have time (or simply forget) to leave the mixture to sit in the refrigerator overnight, then you may not have missed your window. So long as you can give it three to four hours at least, you should be fine.

4. The Citrus

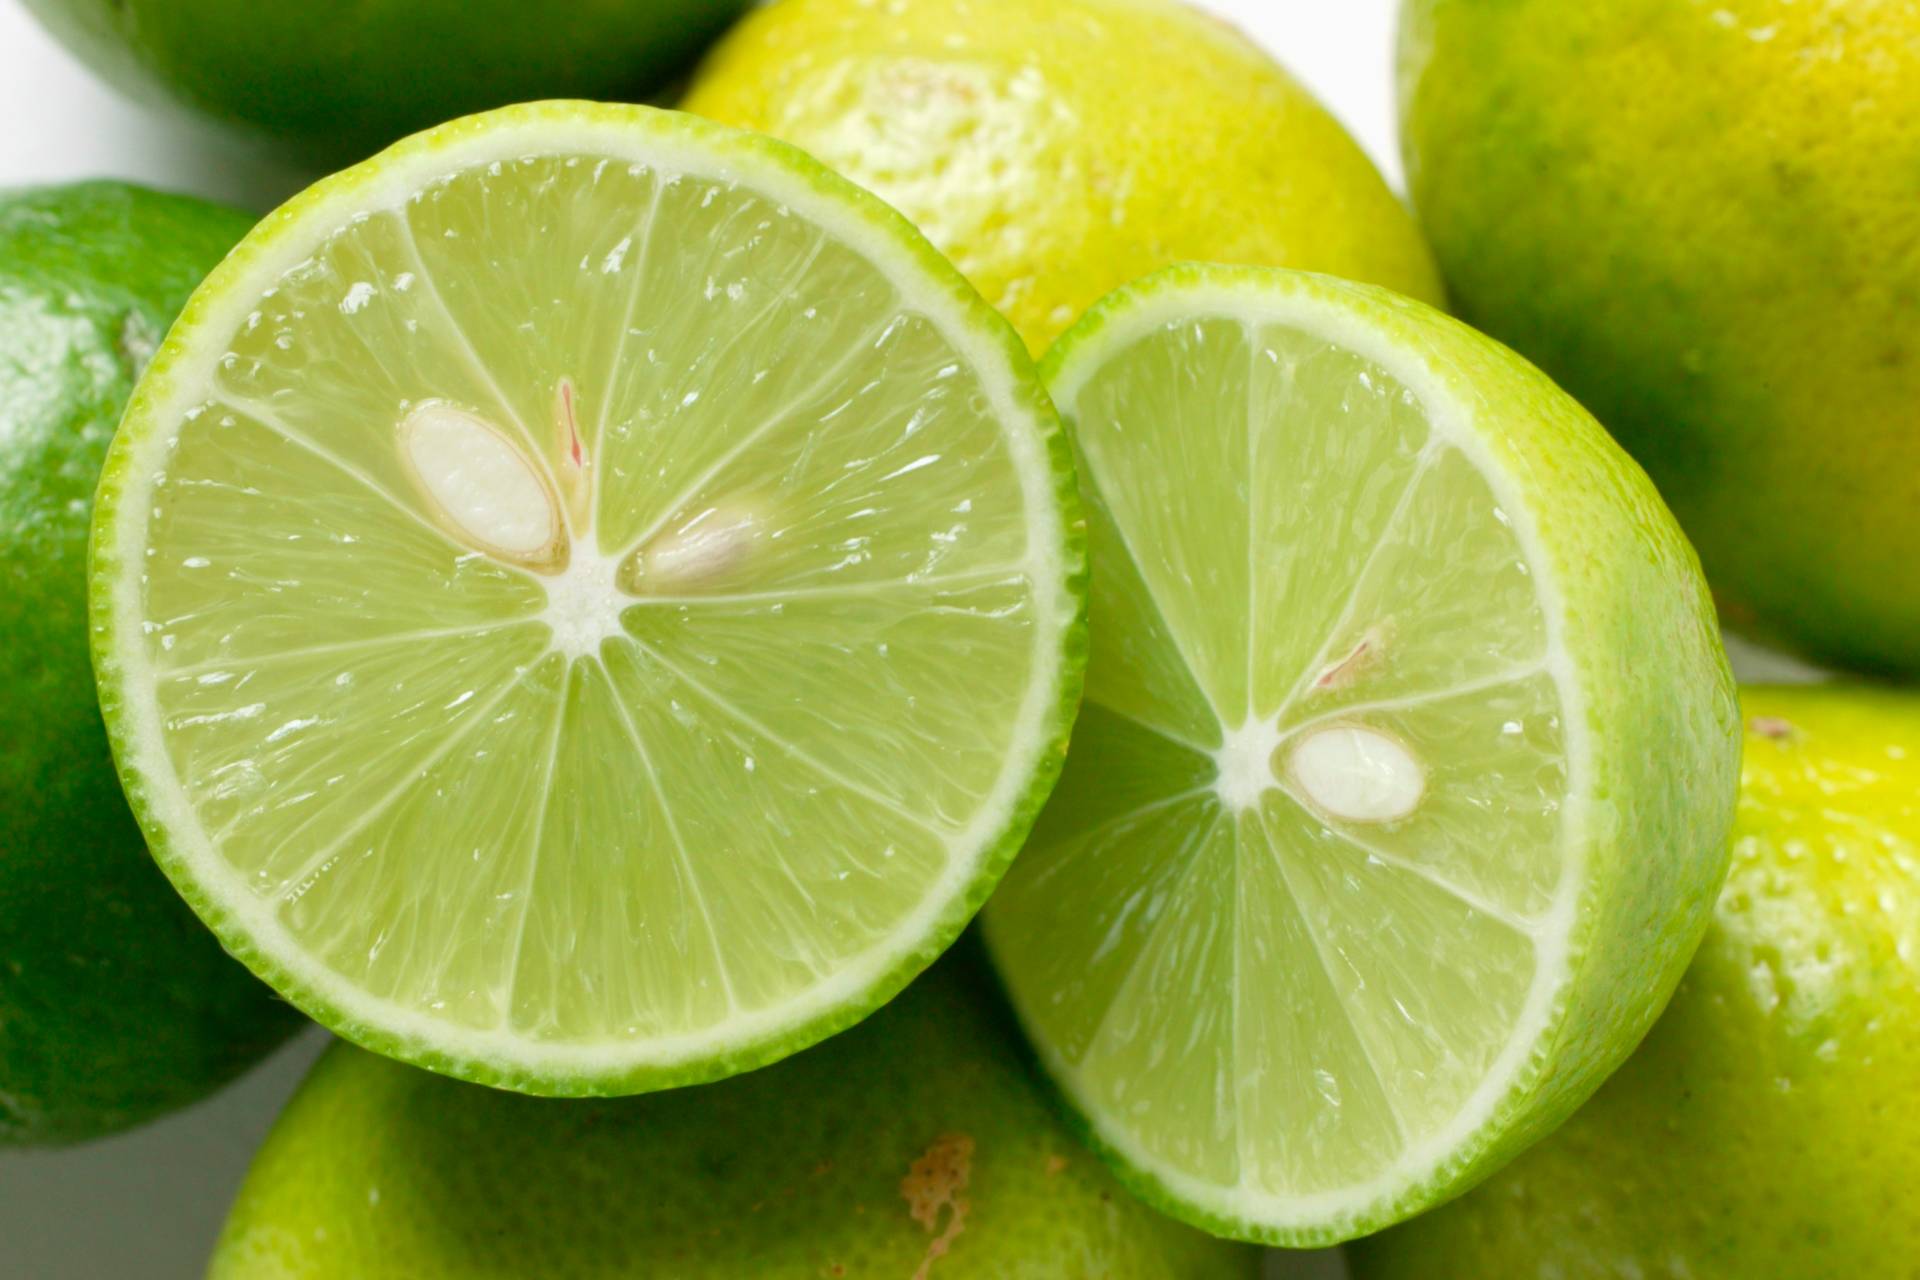
fresh key limes © StockFood _ Foodcollection

Key limes are quite different to your regular limes. They’re smaller, more acidic, and taste slightly more tart and bitter than what you may be used to. That tartness is what makes an authentic Key lime pie from the Florida Keys incomparable. Even if the limes themselves are imported from Mexico and Central America these days.

If you can’t get a hold of genuine Key limes, you could use bottled Key lime juice, although even that can’t compare to fresh. What’s more, the colour is often far from appetising.

But don’t fret. There’s a simple solution. All you have to do is zest the peels of your limes first. It might not be exactly right, even the proudest Floridian is unlikely to notice. But maybe don’t tell them, just in case.

Alternatively, perhaps you can get genuine Key limes but find them too tart and bitter. That’s also fine. Simply replace a couple of tablespoons with lemon juice instead. But again, maybe don’t tell your Floridian friends.

5. The Bake

One of the worst things you can do to your Key lime pie is over-bake the filling. We’ve already said you want the filling to be like custard, not meringue, but it’s just as important not to turn it into quiche. That means having the patience to cook it low and slow.

Your filling will boil at 212°F, so limit your oven to 200°F. That means if you leave the Key lime pie in a couple of minutes too long, your custard will still be the perfect consistency. If you’re unsure whether or not it’s cooked, just press the middle of the pie gently with your finger. If none of the mix sticks to you, it’s done.

Note that this is also a great tip for other egg-rich, custardy desserts, such as cheesecake and crème brûlée.

6. The Topping
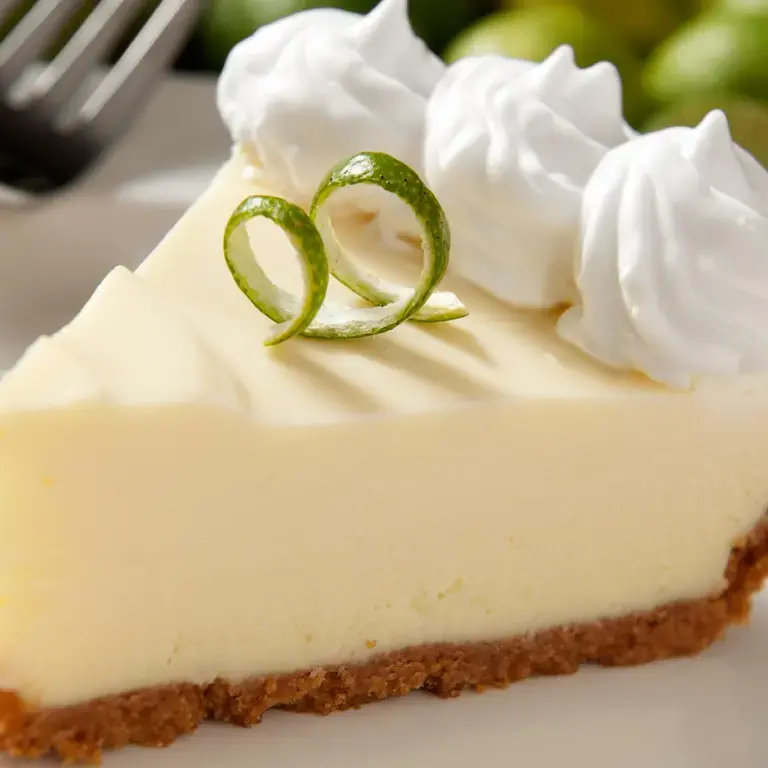
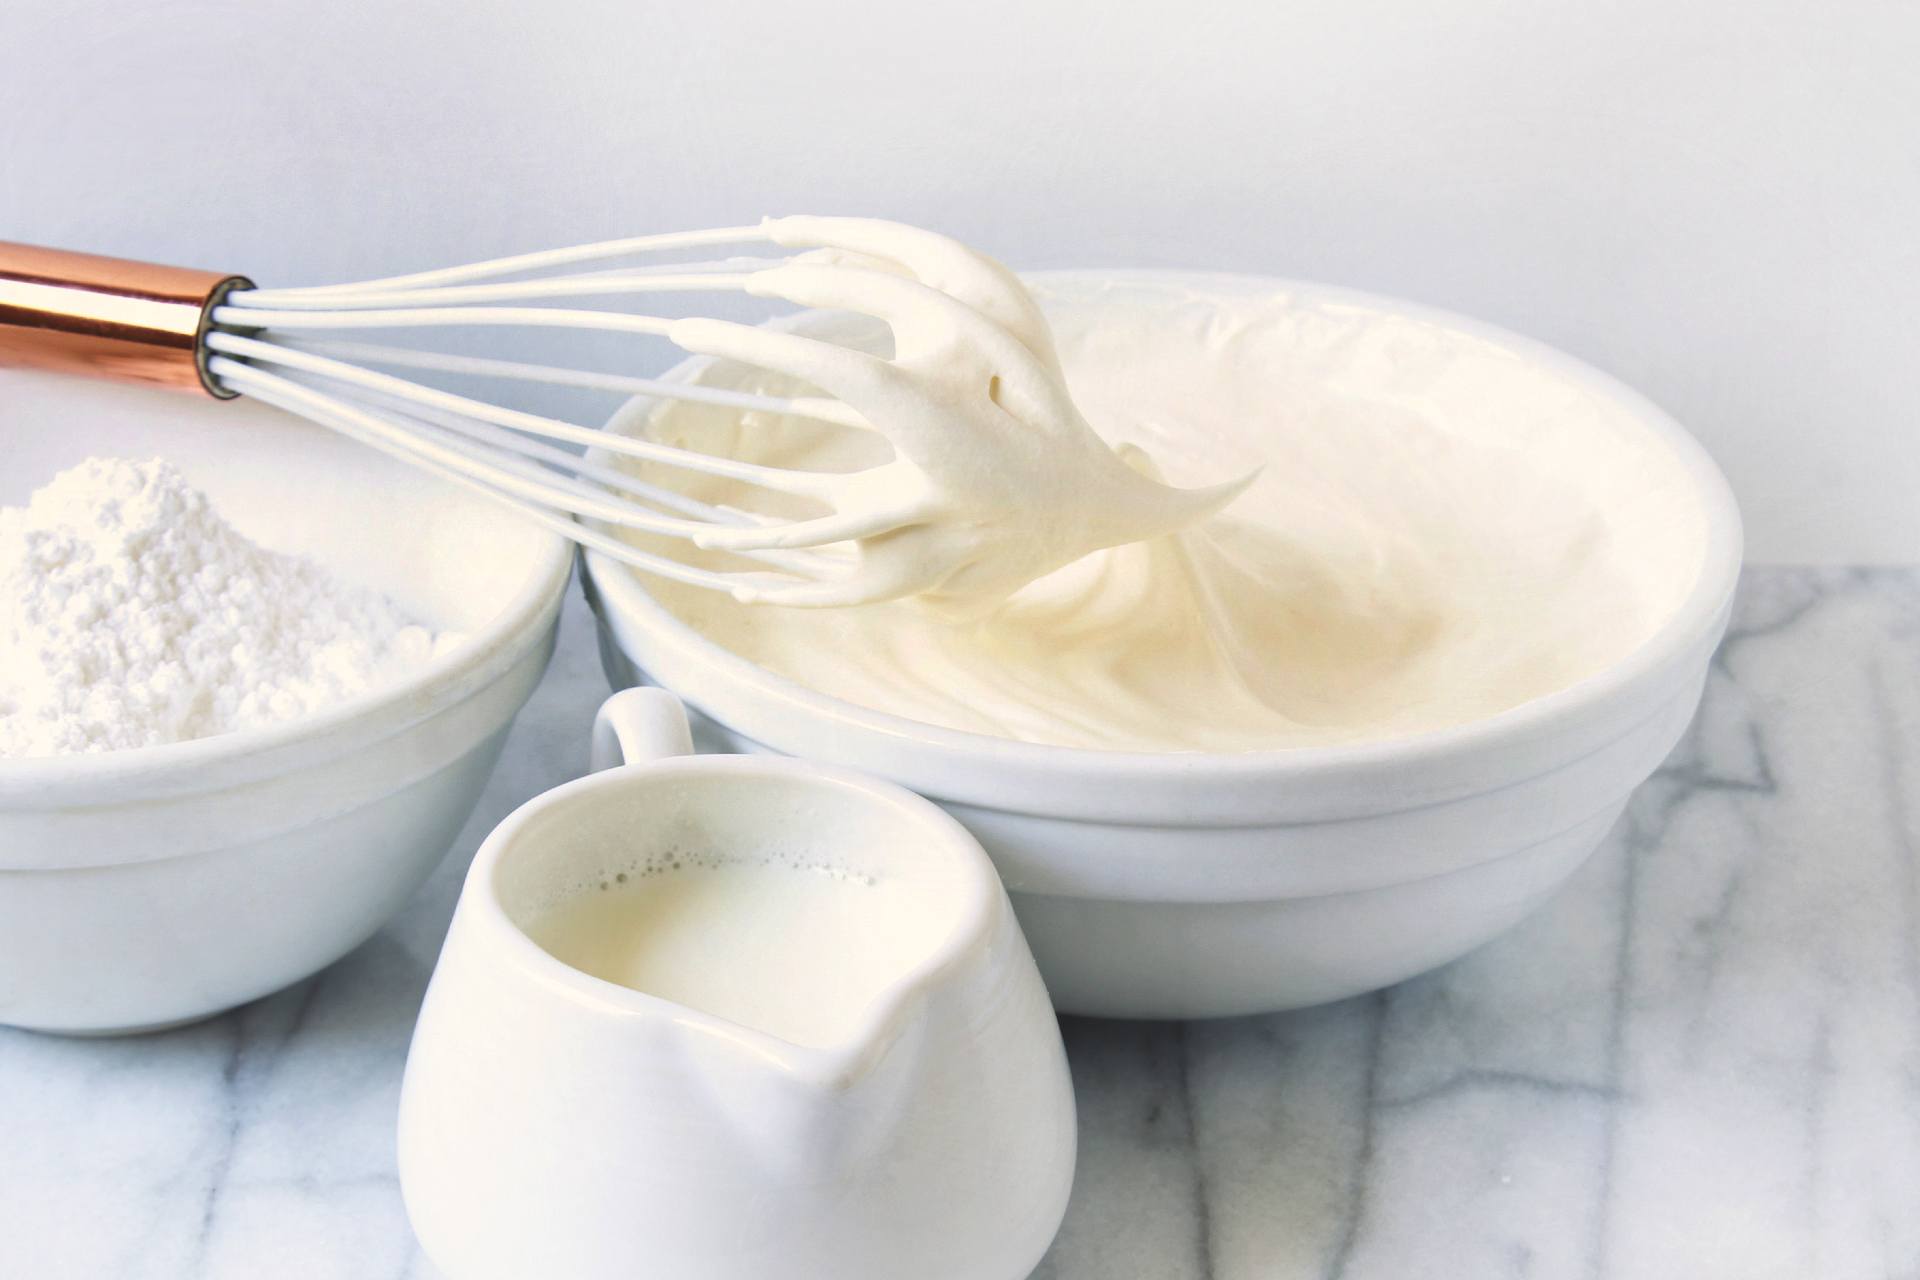
whipped cream ©iStock

Hey, we won’t turn our nose up at Key lime pie with a meringue topping, and nor will we judge you for preferring it. But in our book, you can’t beat simple whipped cream. As we keep saying, Key lime pie is supposed to be easy. It also makes it easier to transport the pie as the cream can be added afterward. Better still, it allows people to choose their preferred method of eating it. Like your Key lime pie plain? Or with the cream on the side? No problem.

That said, plain whipped cream could use a little extra sweetening. Sprinkle over a restrained amount of powdered sugar for a lip-smackingly good way to top off your perfect Key lime pie.

Key Lime Pie Recipe

OK, so now you know the theory, it’s time to put your newfound knowledge into practice.

Join the community
Badge
Join us for unlimited access to the very best of Fine Dining Lovers